Performing Ad-Hoc Assessments in the field
Objective: Gain an understanding of how to complete assessments in the field on an ad-hoc basis or to use as part of an asset data collection exercise.
Prerequisites: These actions require some settings to be configured prior to commencing.The 'Assessment Admin' role is required to complete forms.The Mobile User must be configured to view asset details (i.e. in an appropriate Work Group)An 'Asset' Assessment Form has been created suitable for use.
Assessment forms can be accessed and completed in the field for any asset that is accessible on the Assetic Mobile Device (including assets captured in a 'Pending' Status). User-created forms allow the capture of various asset data with many different use cases. This use case differs from Project-related / initiated assessments where assessment tasks are dispatched to Mobile users via Assetic Cloud.
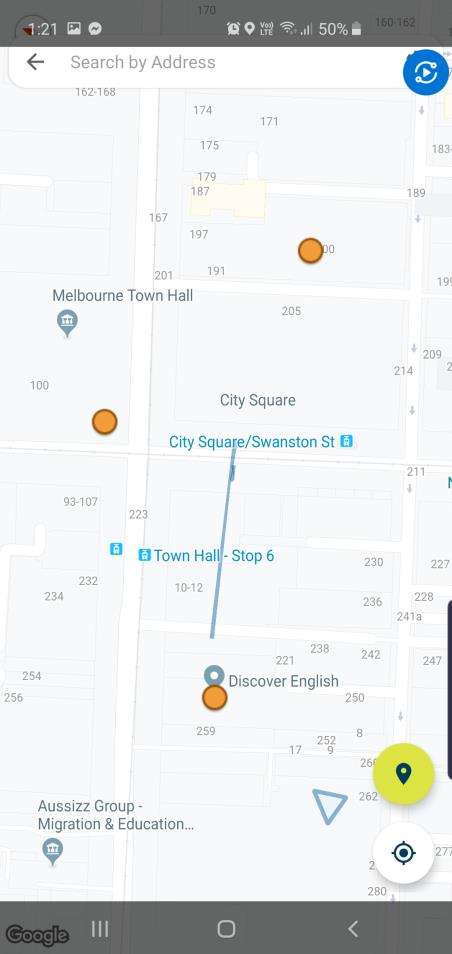
Step 1: Identify and Select Asset
On the Assetic Mobile App, open the navigation menu and select the Assets menu option. Select the "Search" tab, and then select the "Map" tab. This will show the map on the device in a full-screen window where users can toggle on and off asset layers. Once users identify the relevant asset it can be selected by tapping the map marker and confirming.
Step 2: View Asset Details
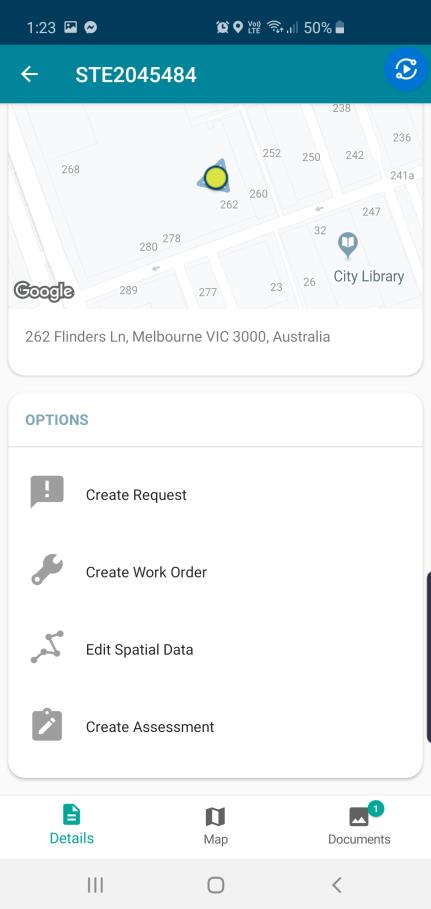
Once selected, the asset details will appear on the device.
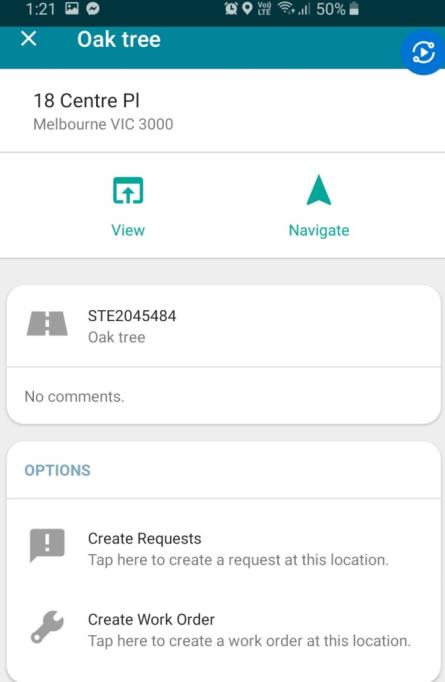
Step 3: Create an Assessment Task
On the Asset screen, under the options menu, select the "Create Assessment" option.
Step 4: Add Forms to Populate / Capture Data
In the Pending Task screen, navigate to the "Asset Forms" section and select "Add Form". This will display all asset forms which can be linked to the selected asset and completed. Any forms added to asset can be completed by selecting the form and choosing "Assess".
![]()
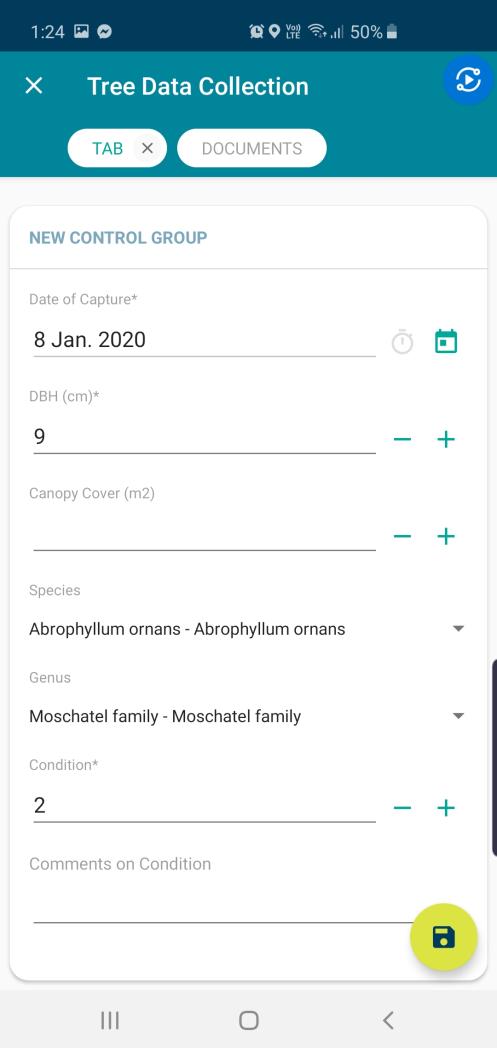
Step 5: Complete Form
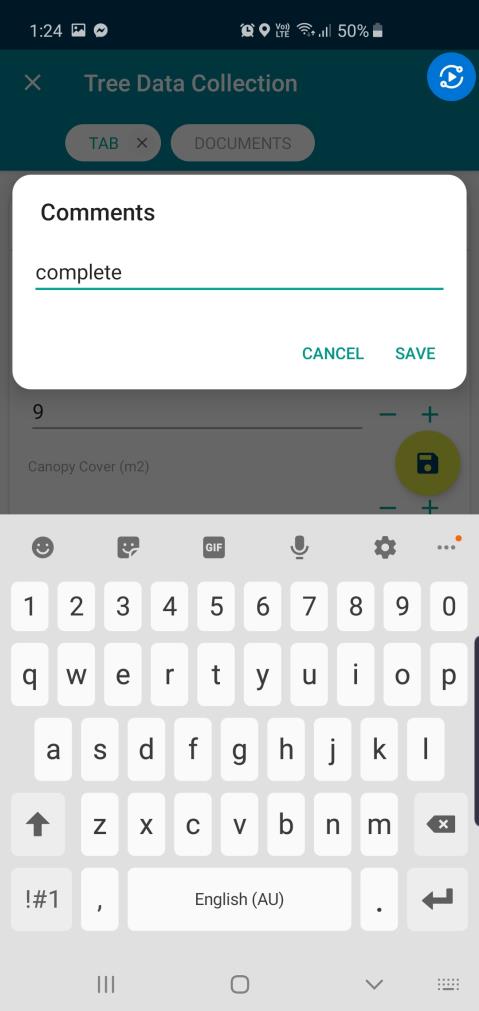
Complete the details on the form and ensure all mandatory fields (marked with an asterisk '*') are complete. Once this is done, select the save icon. This will present the assessor with an optional comments field. Once comments are finalised, select save. The user can now select the tick icon to synchronise the Assessment form information to the Assetic Cloud.